👨🚀 Launching the App to the App Store 🚀

Forget about Ruby and Fastlane installation issues!
Discover Codemagic CLI Tools - the free, open-source Fastlane alternative for automating iOS builds, code signing and publishing.
This message is brought to you by a sponsor who helps keep this content free for everyone. If you have a moment, check them out. Your support means a lot!
Welcome to issue #48 of the iOS Coffee Break Newsletter 📬 and to the 11th edition of the "Building a Newsletter App" series.
Last week, I guided you through designing a simple app icon — starting with a placeholder, creating an initial version and refining it until it felt just right!
Now, after 11 issues in this series, it is time to bring the app to life! The next steps involve archiving the app, preparing it for the App Store and finally launching it to all users.
It has been a while since I last published Padel Time, so I revisited my own guide on the process — I recommend checking it out to follow along more easily!
The Plan
To distribute my Coffee Break News app for beta testing or public release on the App Store, I followed these steps:
- Set up a distribution provisioning profile and certificate.
- Create an App Store Connect record for the app.
- Archive and upload the app using Xcode.
- Configure the app's metadata and details in App Store Connect.
- Submit the app for review.
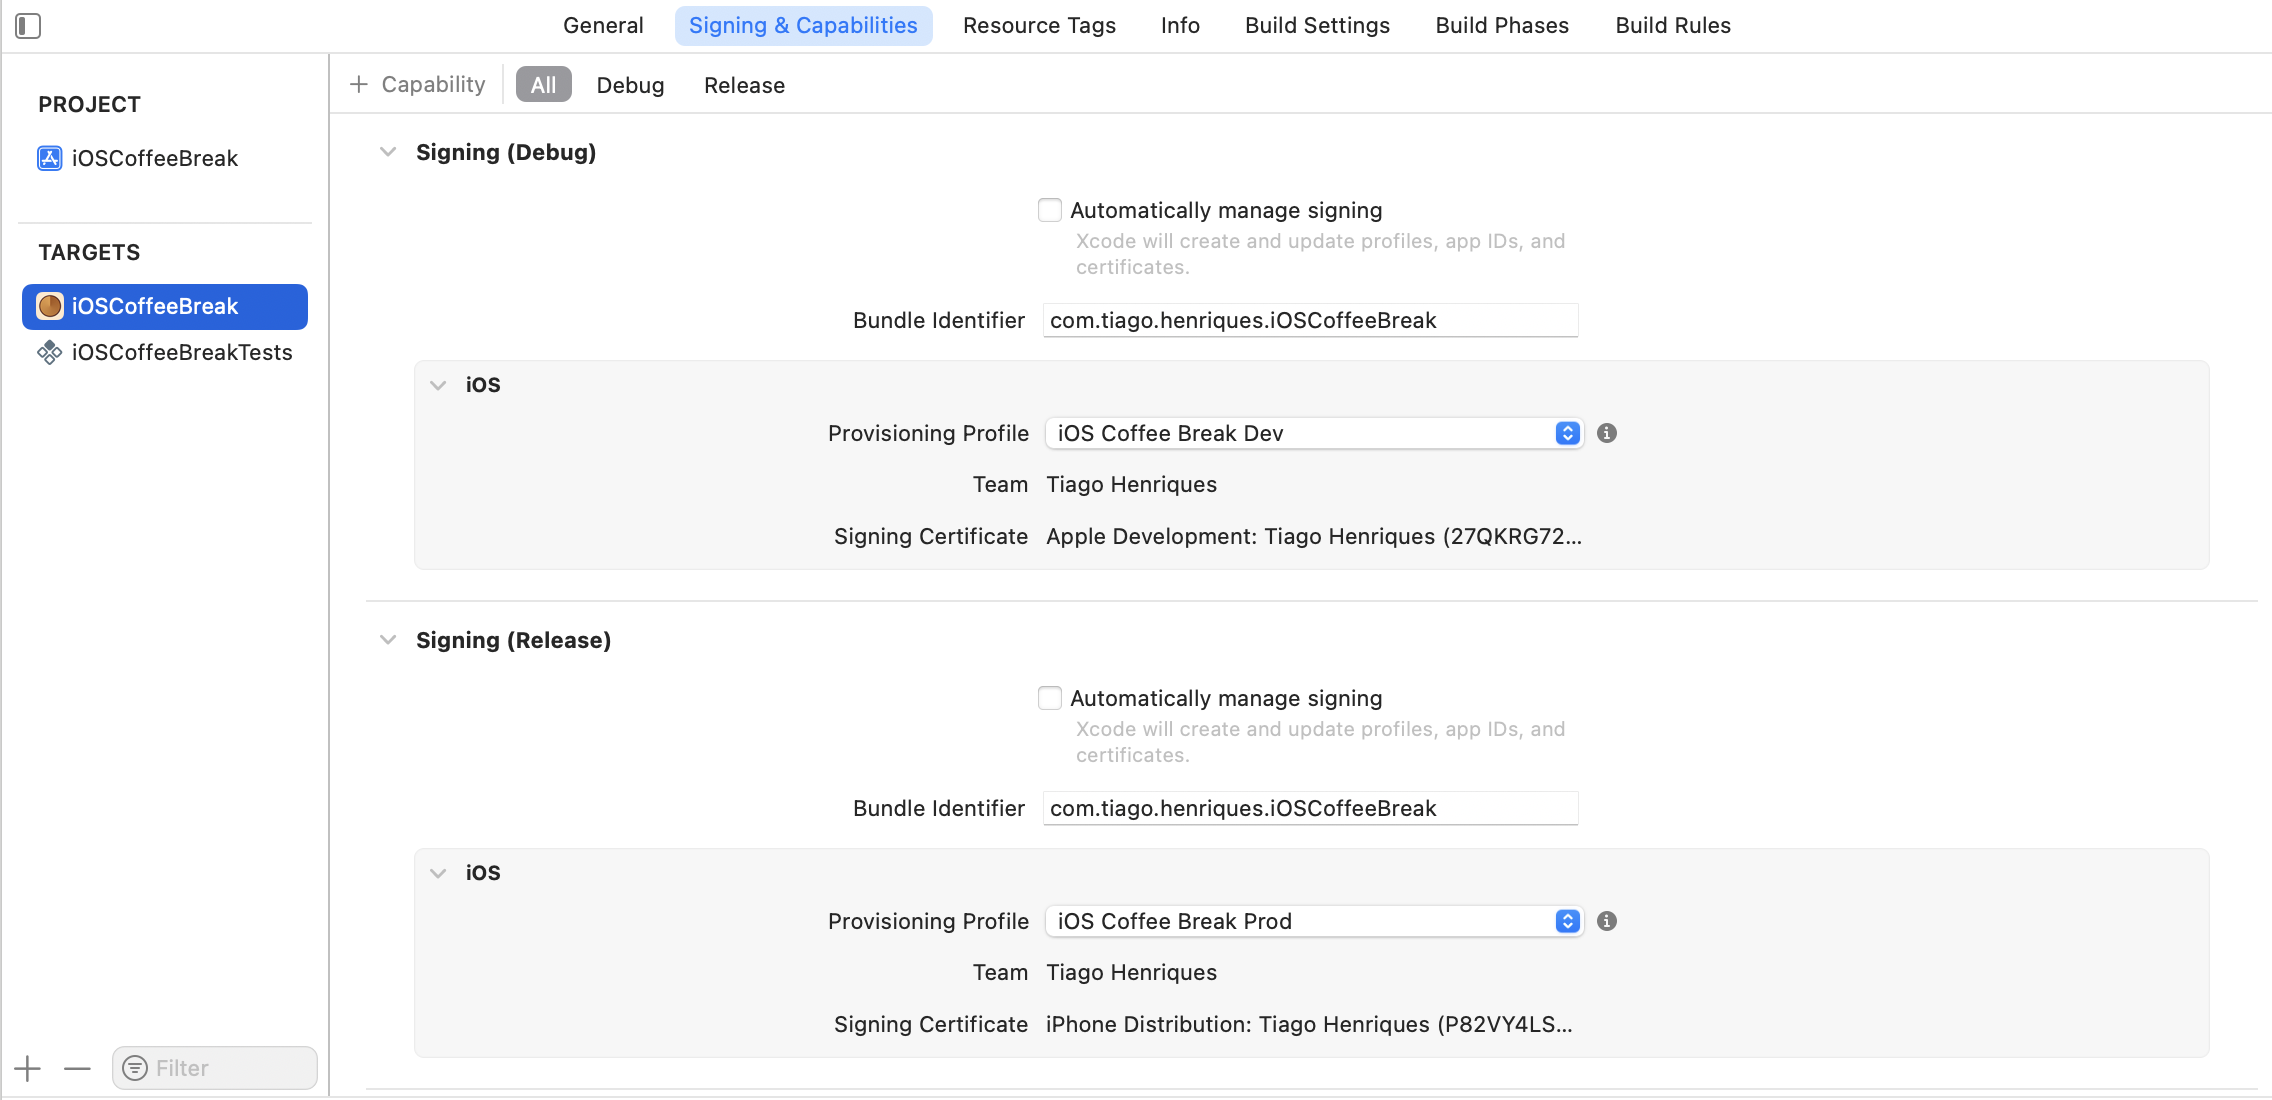
Configuring an iOS Distribution Profile and Certificate
To set this up, I accessed my Apple Developer account and went to "Certificates, Identifiers & Profiles".
I generated an App Store Distribution Certificate, installed it in my Mac's Keychain, then created and downloaded a matching Distribution Provisioning Profile.
After that, I integrated both into Xcode for proper code signing.
Here is how my "Signing & Capabilities" settings look in Xcode:
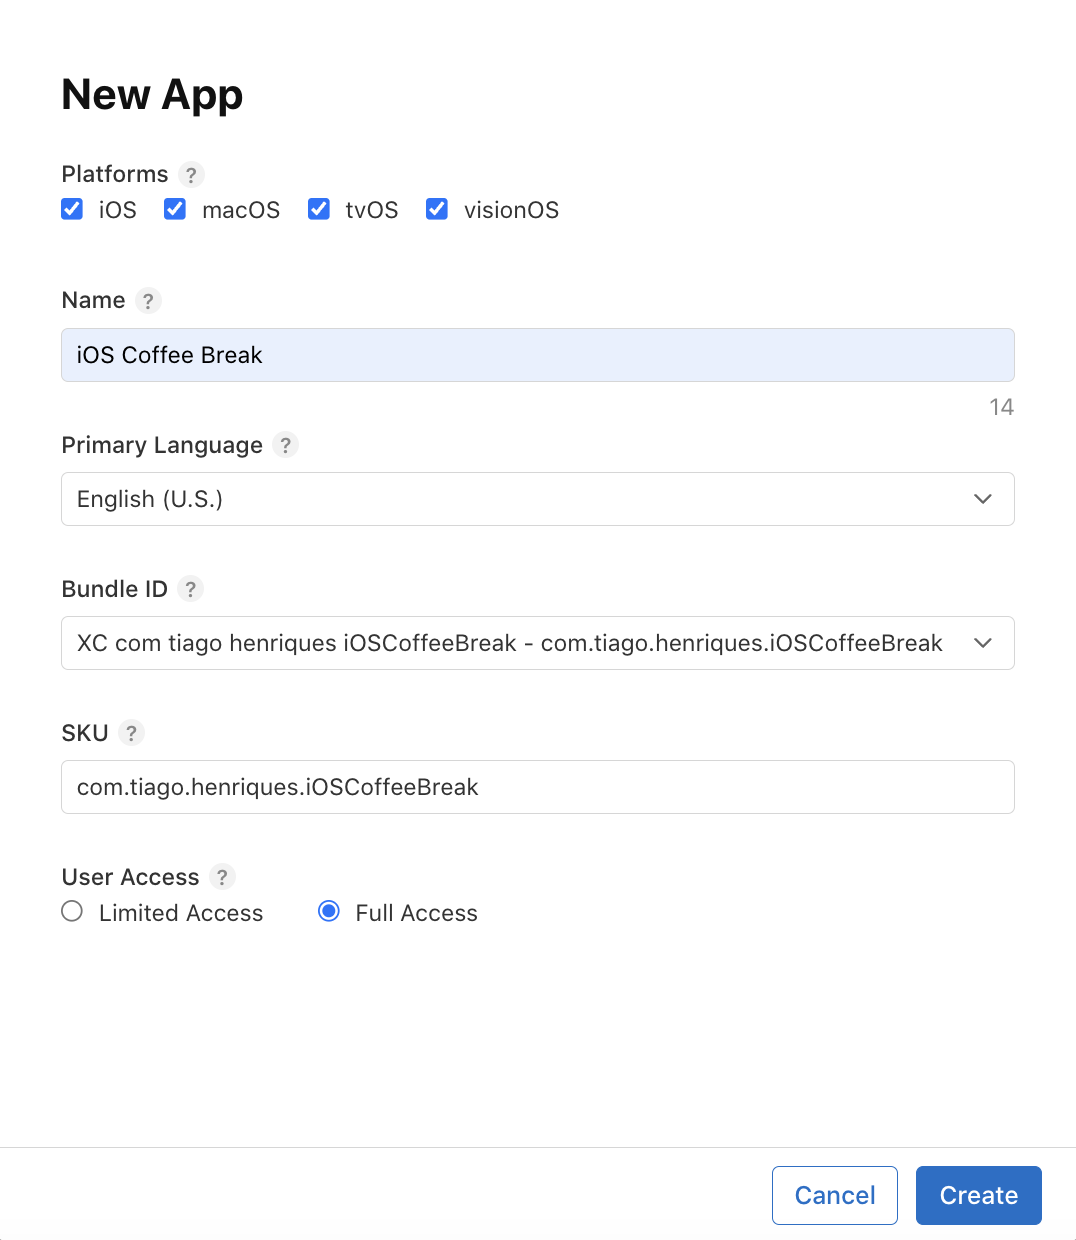
Setting Up an App Store Connect Entry
To register the app, I logged into App Store Connect, navigated to "My Apps", and selected "New App".
I then filled in essential details like the app name, primary language, bundle ID, and SKU.
Here is my App Store Connect entry:
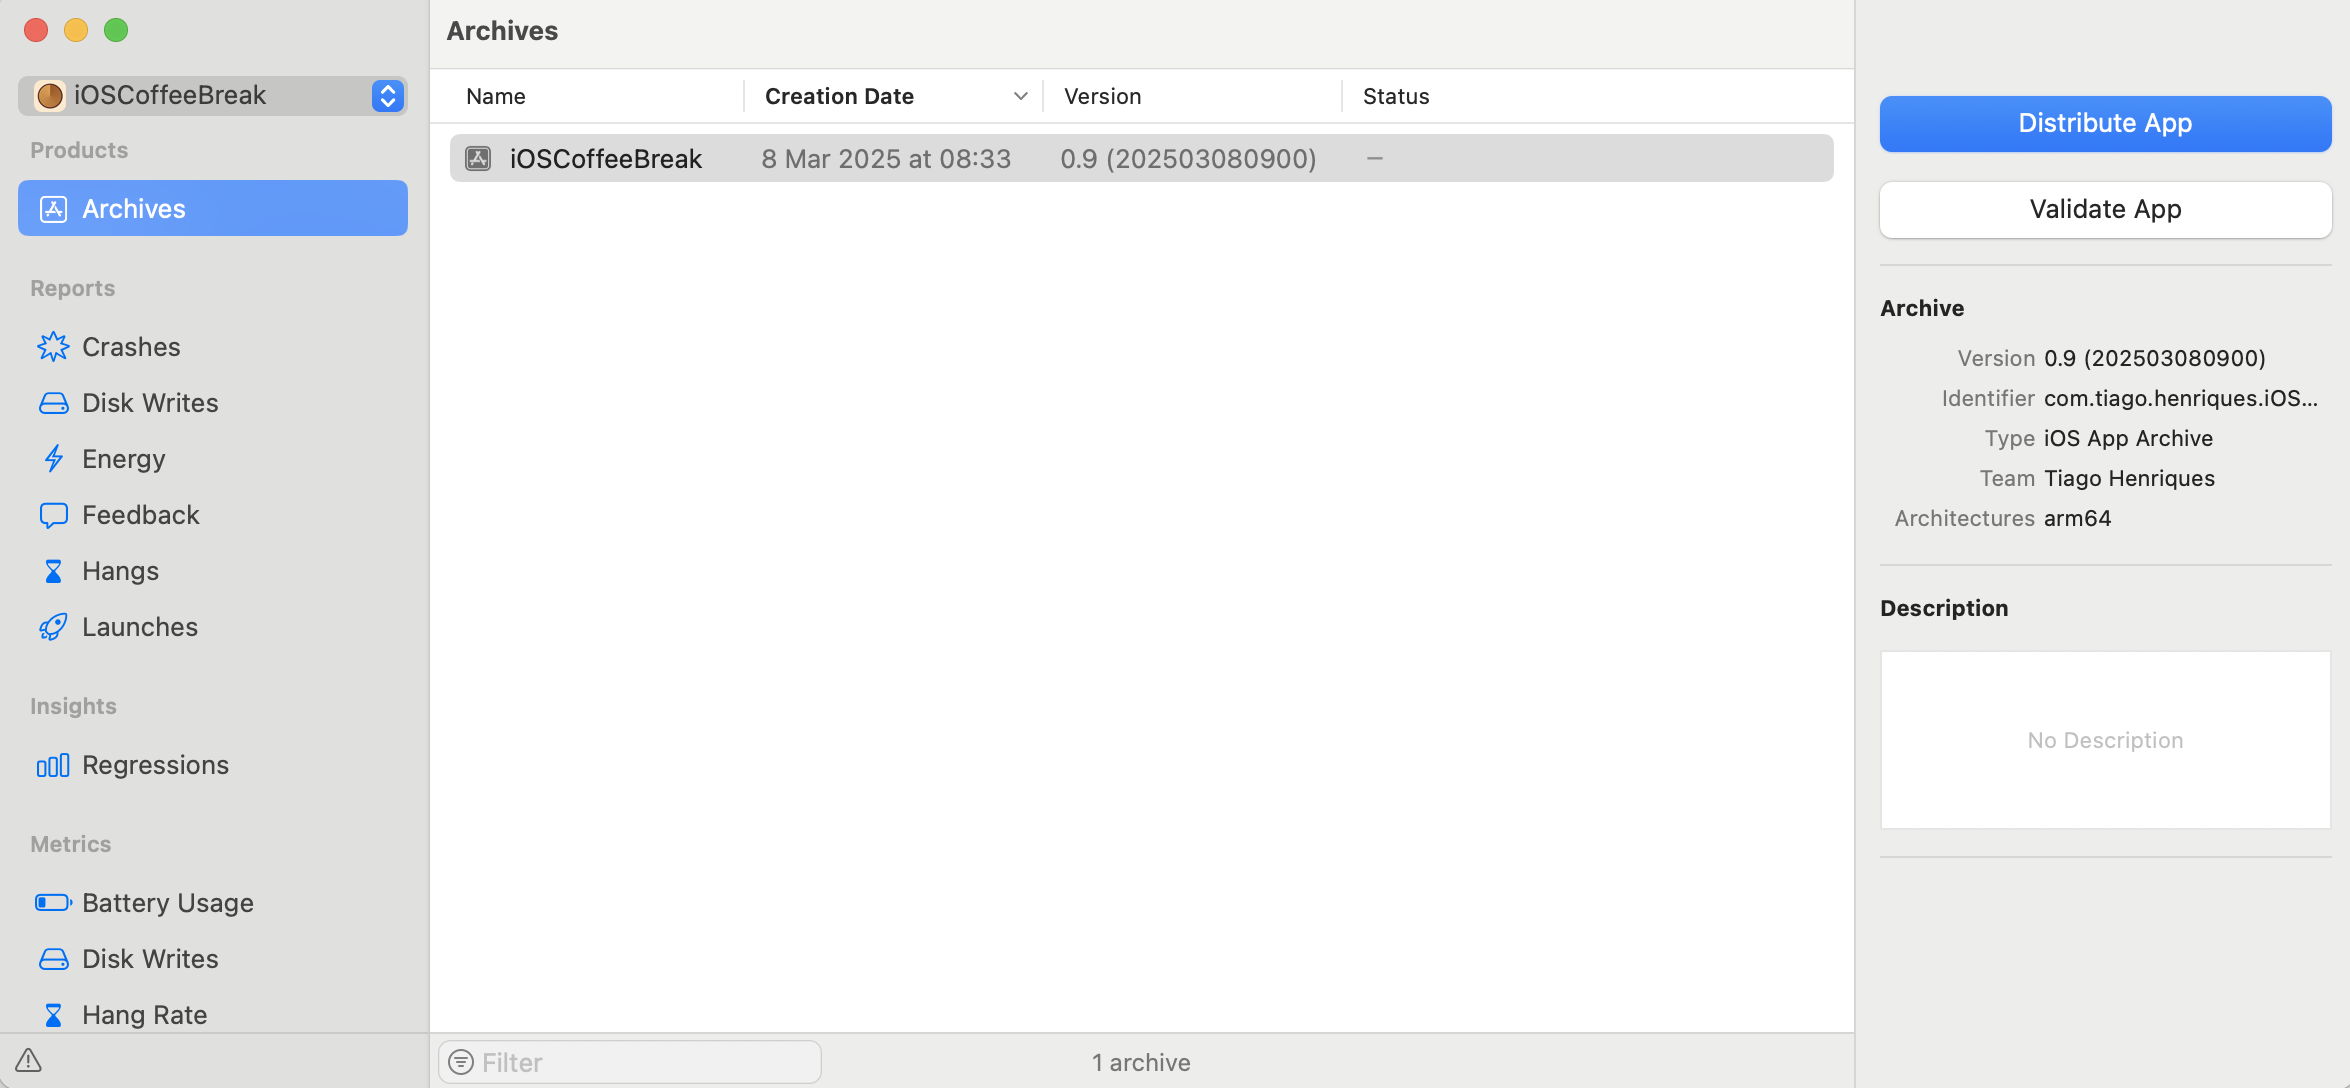
Archiving and Uploading the app with Xcode
To package and submit the app using Xcode, I followed these steps:
- Opened
"Product">"Archive"to generate an archive. - Selected the archive and clicked
"Distribute App", choosing"App Store Connect". - Completed the validation, code signing, and upload process.
Here is my archive, prepped for distribution:
Configuring App Metadata in App Store Connect
In App Store Connect, under the "App Store" tab, I needed to enter key details in the "App Information" section, such as supported languages, categories, and my app's privacy policy URL.
Next, I uploaded screenshots and added important metadata, including the app description, keywords, support URL, and marketing URL.
Here are my app previews and screenshots that will be displayed on the App Store:
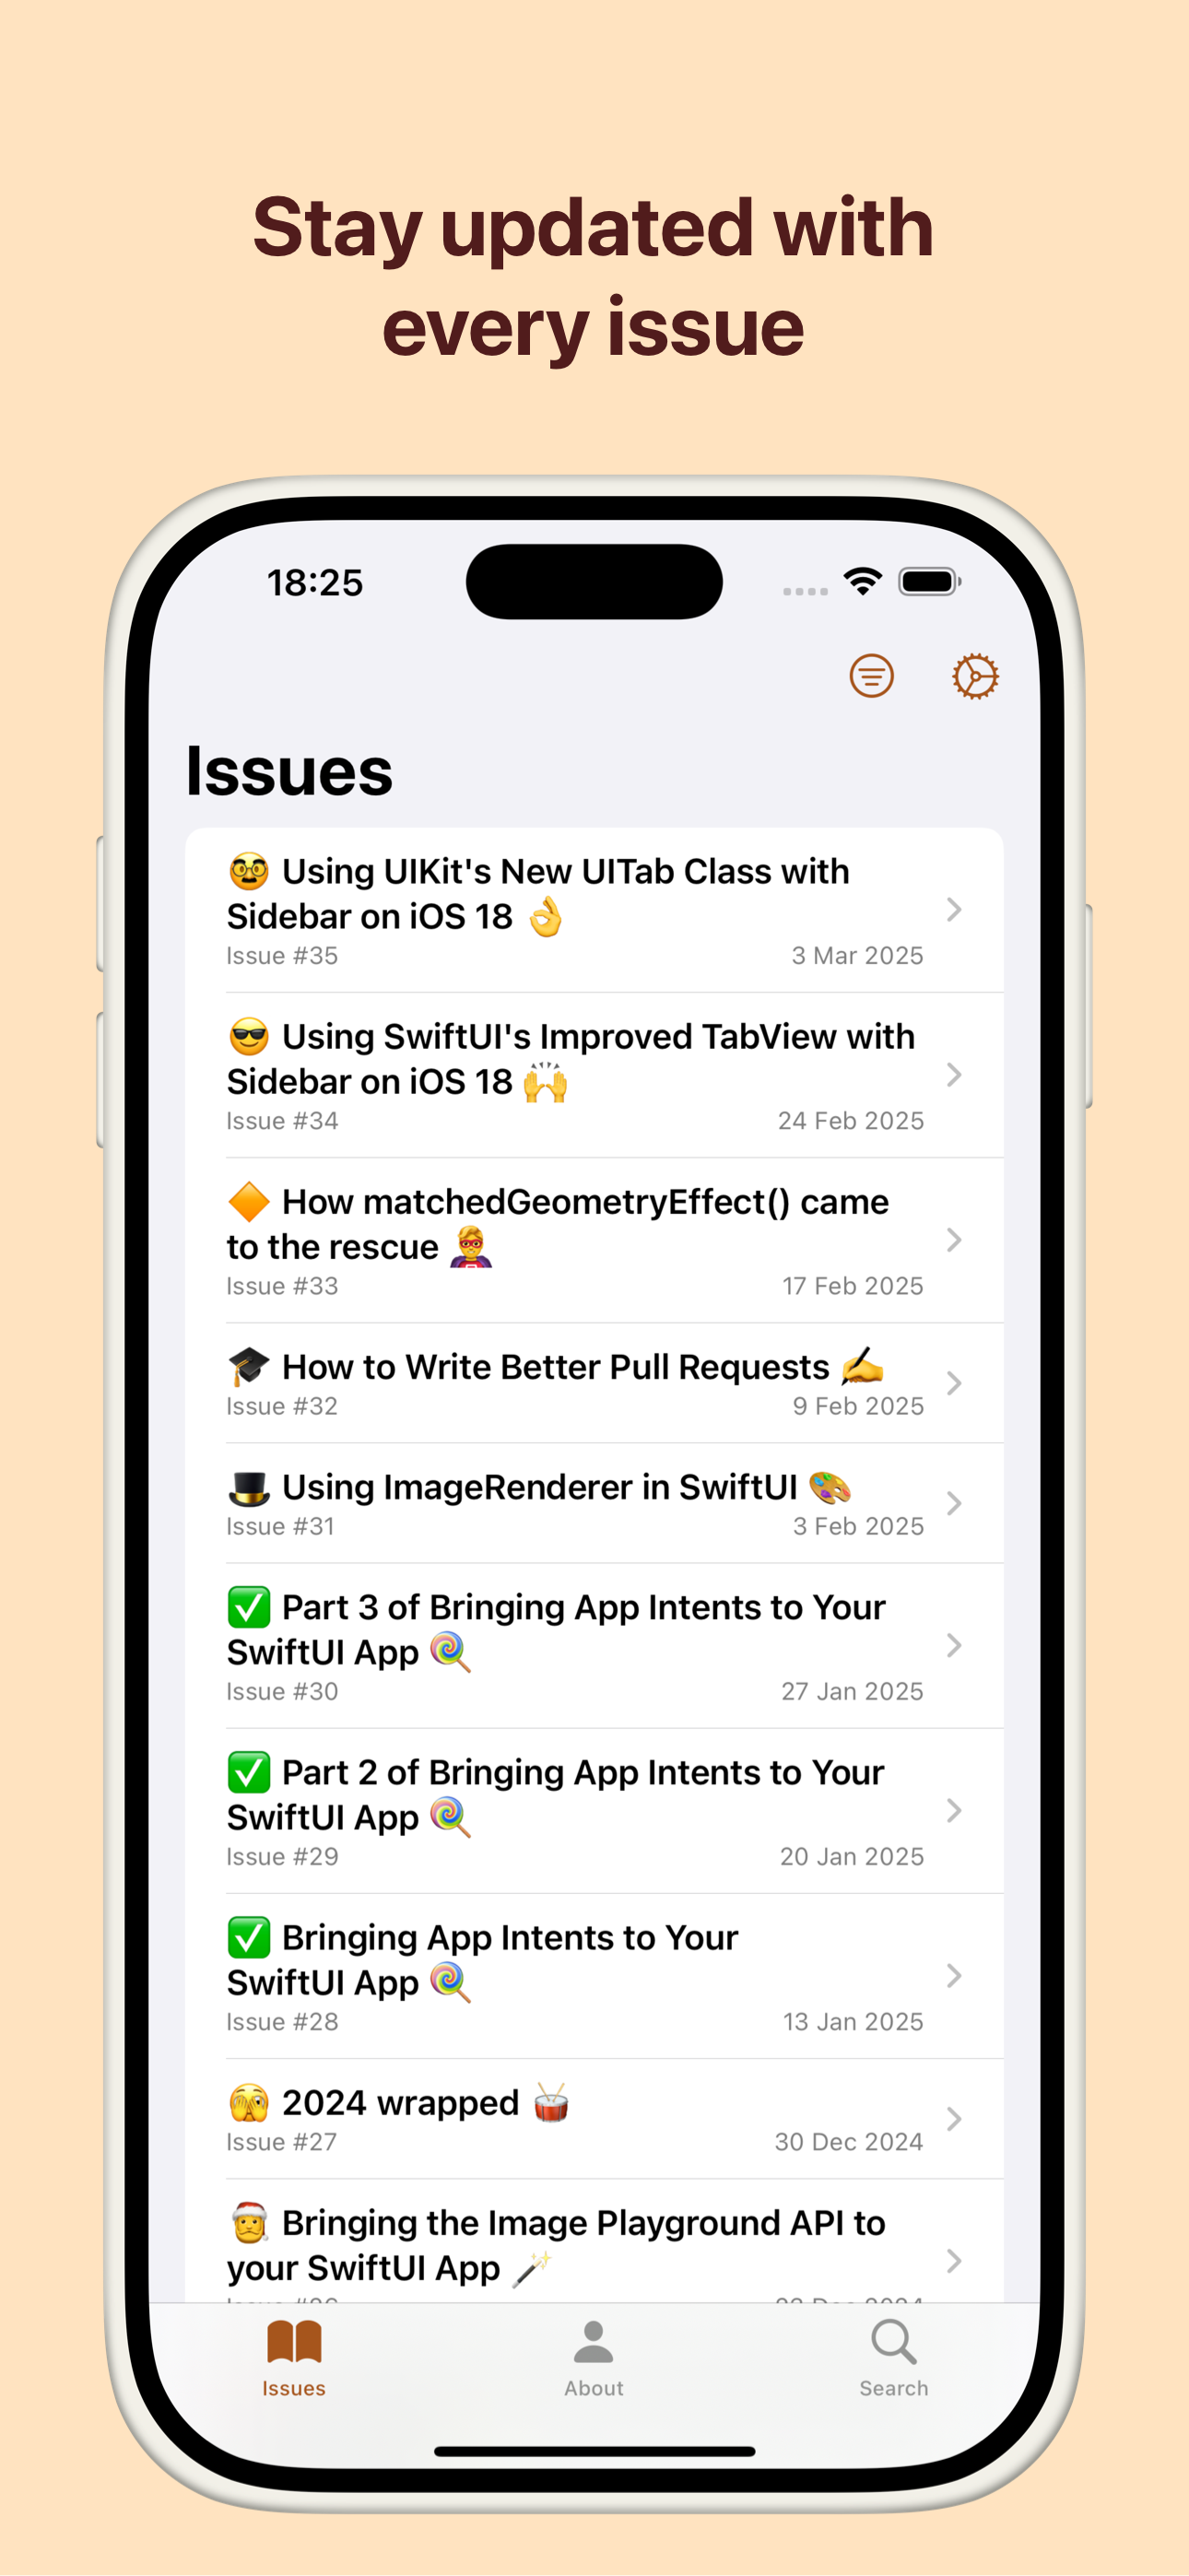
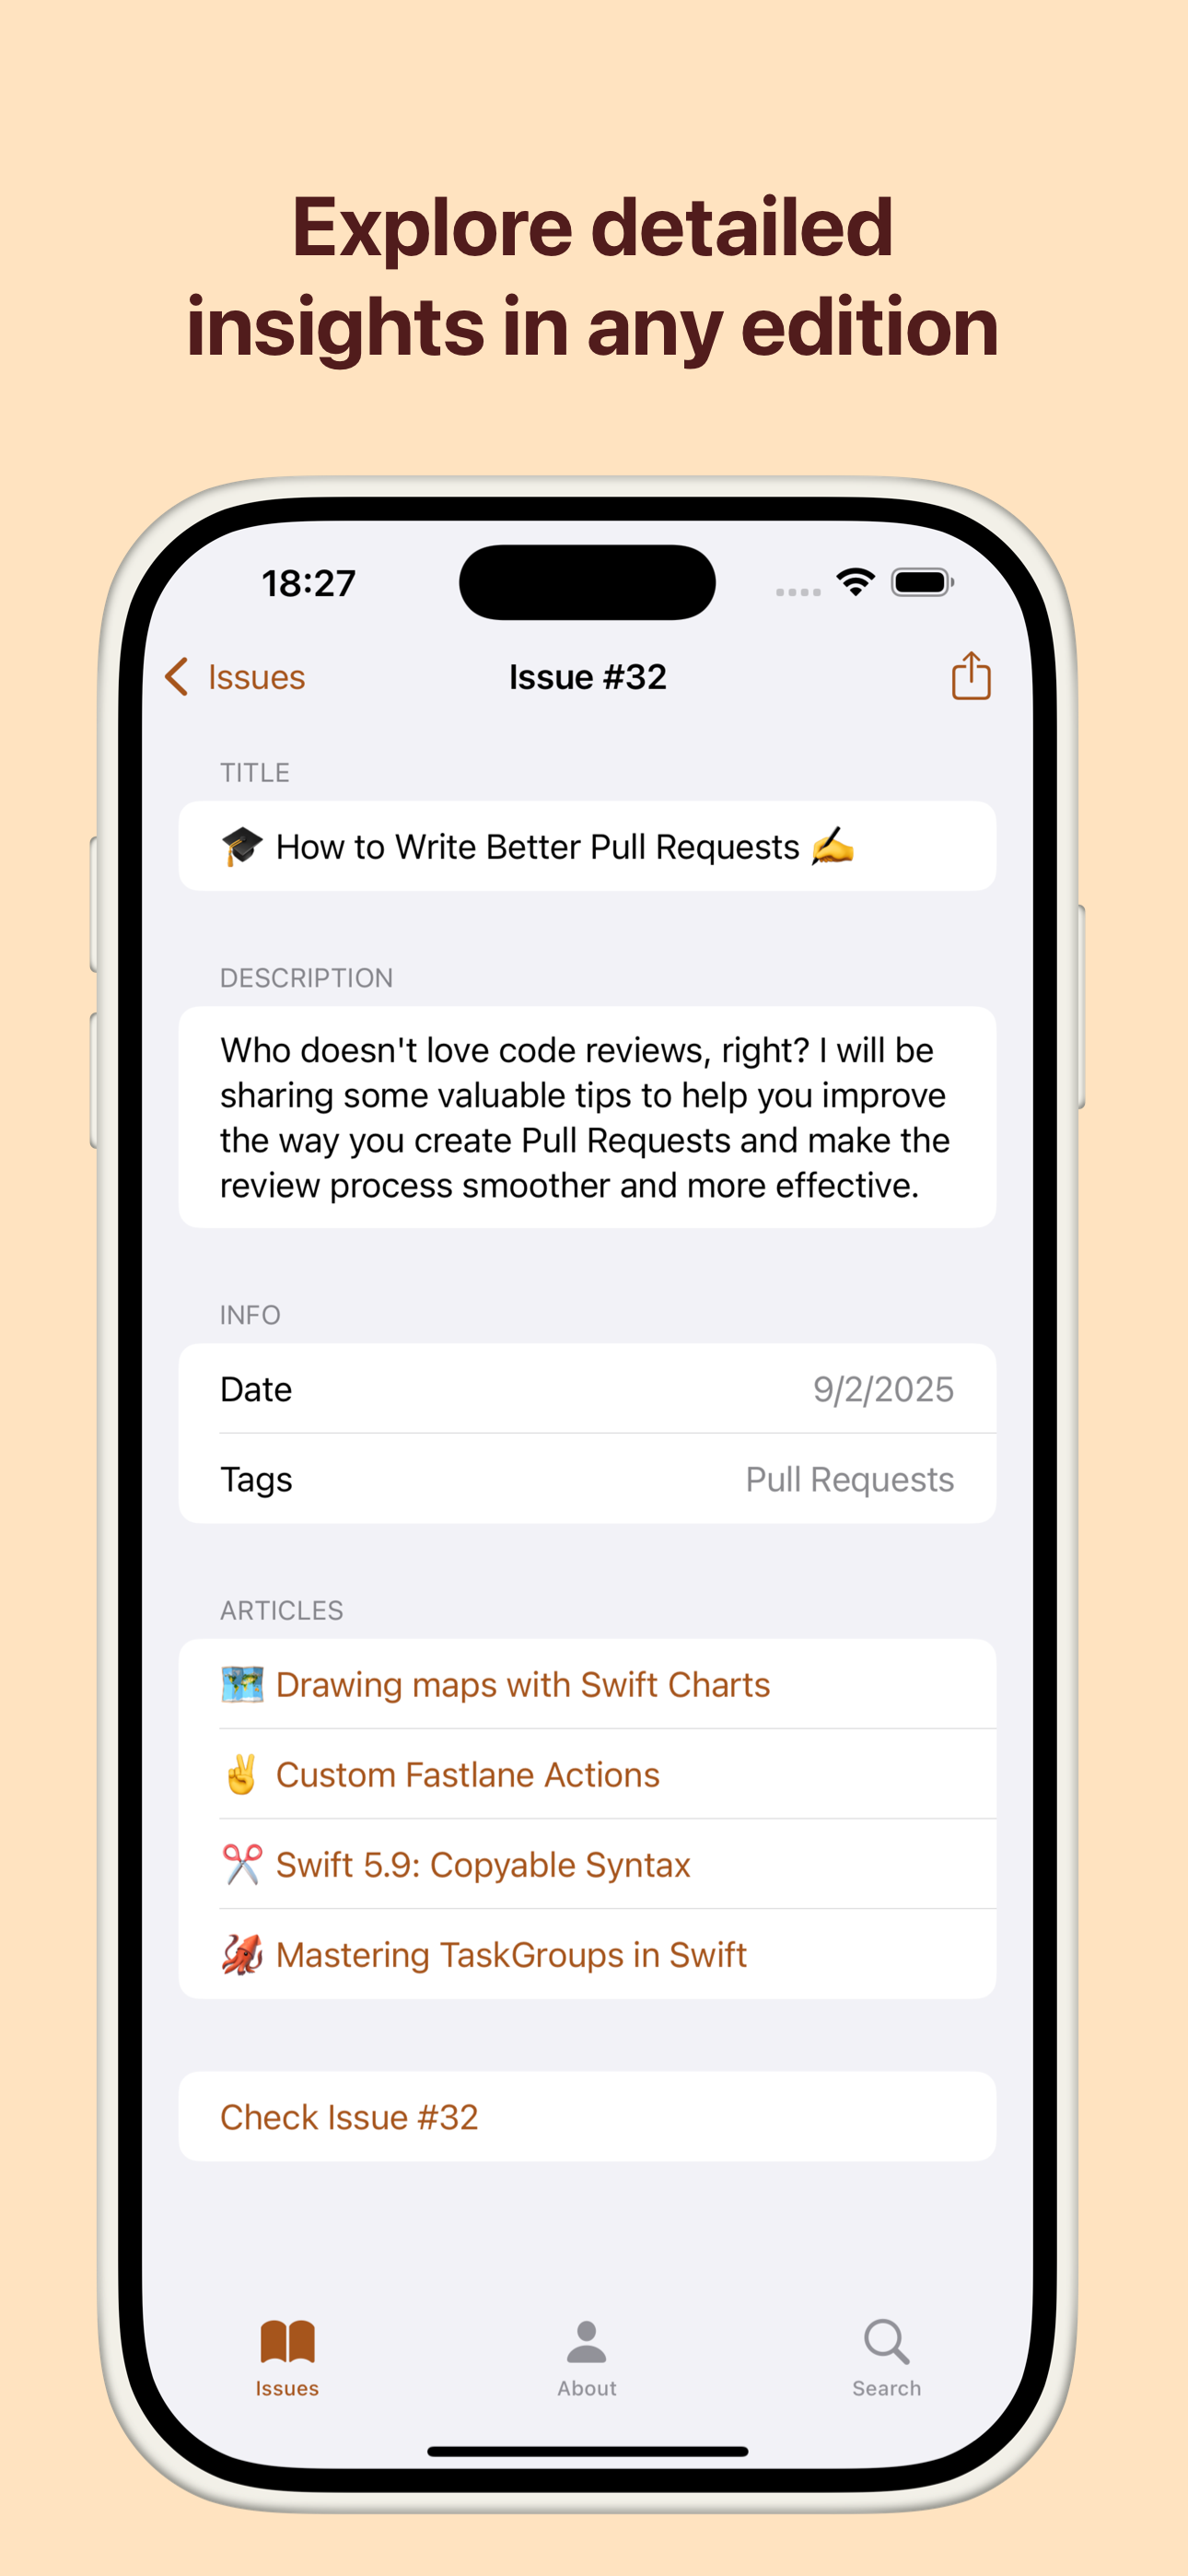
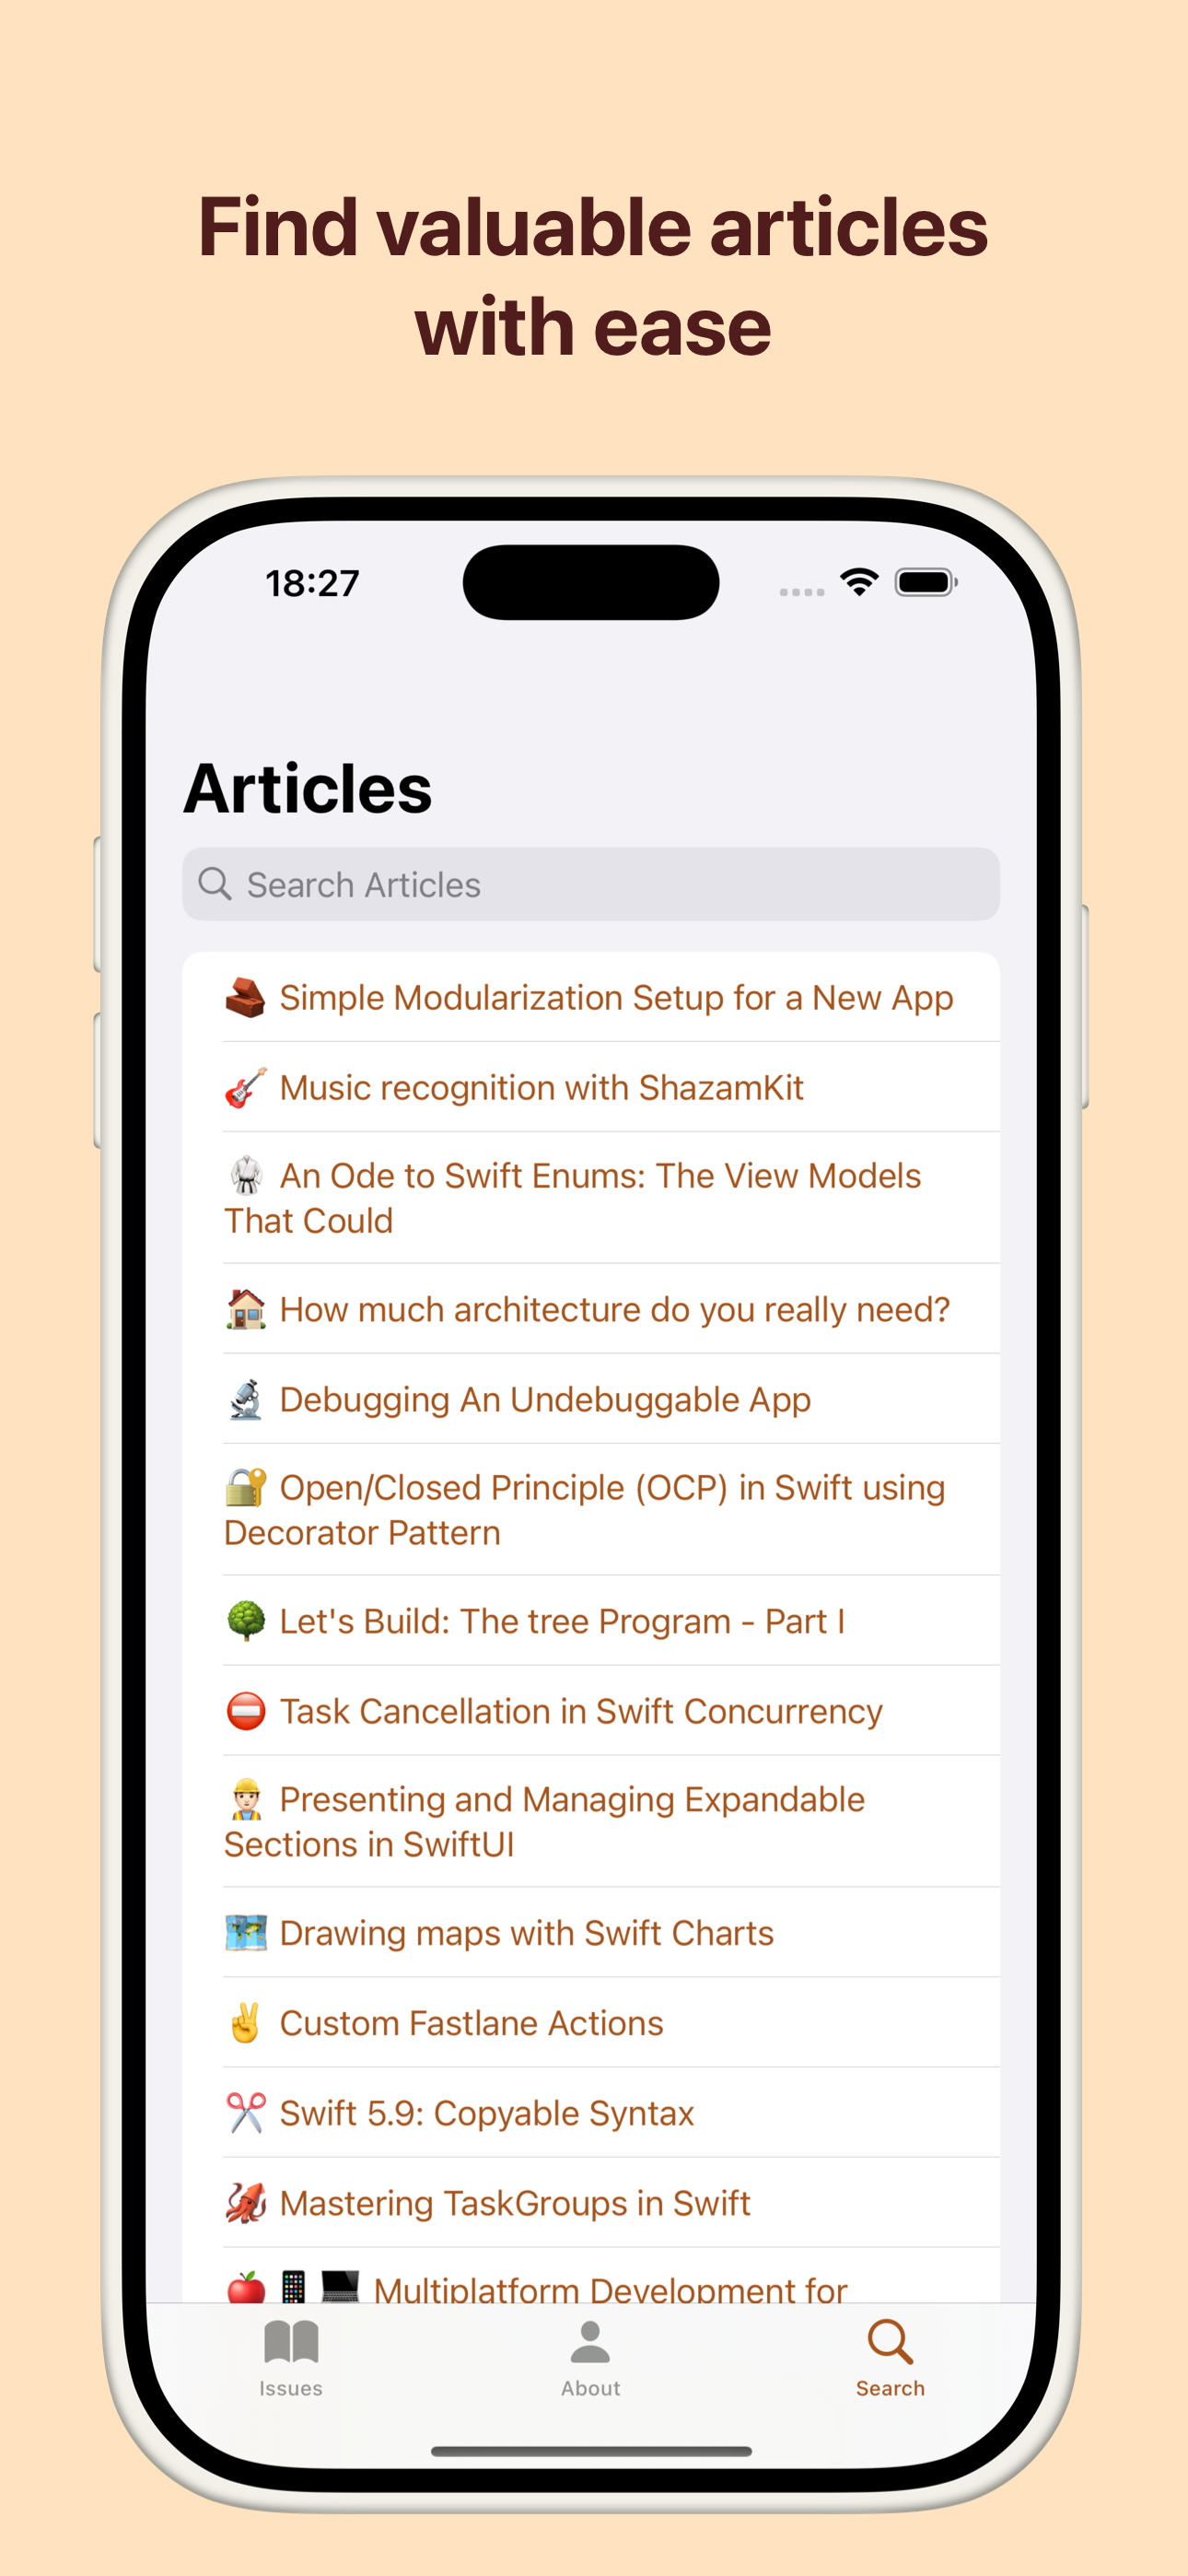
I use Framous from Charlie Chapman to add device frames to my screenshots — highly recommended for quick, polished results!
Submitting the App for Review
To submit my app for review, I navigated to the "Build" section in App Store Connect and selected "Select a build before you submit your app".
After picking the uploaded build from Xcode, I clicked Done, then Save, and finally Submit for Review.
After that, Apple reviewed and approved the app!
🤝 Wrapping Up
I am thrilled to announce it is now live — go check it out and let me know your thoughts! What are you waiting for? Get the App now! 🚀
Have any feedback, suggestions, or ideas to share? Feel free to reach out to me on Twitter.
CURATED FROM THE COMMUNITY
📖 Terminal Setup & Scripts
Recently, Noam had to configure a new machine, which led him to revisit his terminal setup. Fortunately for us, he took the time to document his own terminal configuration — including the aliases, commands and theme he relies on daily.
You can start with the simple aliases and essential functions, and slowly expand your setup from there. Your future self will appreciate it!
🔀 Navigation Coordination in SwiftUI
A while back, I published a blog post about SwiftUI navigation, where I refactored an older navigation layer to adopt the Coordinator Pattern. Not long after that, Stephen came across my post, reached out for a quick chat and decided to spin up a sandbox project to explore the idea further.
My original implementation had a few limitations — for instance, it didn't allow child coordinators to manage the parent's navigation path and the navigation logic wasn't fully decoupled from the views, among other things. Stephen took the concept, enhanced it significantly, and this week, he open-sourced his new version - NavigationCoordination in SwiftUI.
This kind of collab highlights one of the great advantages of sharing your work publicly: with a bit of luck, you can spark ✨ interest in other devs, who may even build upon and improve your ideas! In case of doubt, do it! 💪