🎸 Understanding Data Binding in Rive
Overview
At work, our design team shared a Rive animation meant to be used as the app's splash screen. Since the app supports multiple languages, the animation included text elements that needed to be localized.
This left us with two possible solutions:
- Create separate localized versions of the animation for each language.
- Use a single animation that allows the text to be dynamically updated.
To keep the app bundle size smaller, we opted for the latter approach, updating the text dynamically. Fortunately, Rive offers data binding, which enables reactive links between elements in the editor, data, and code.
In this chapter, I'll guide you through the process of linking editor elements with data and logic using Rive View Models.
Rive features a set of video series that introduces data binding through a guided walkthrough of the editor, which can help solidify these concepts.
View Model Instances
First, we need to obtain a reference to a Rive view model.
If you have been following along with the earlier editions, you already know how to do this. If not, you can refer back to Issue #66 for a quick recap.
After getting a reference, the next step is to create an instance of the view model. There are four ways to do this: blank instance, default instance, by index or by name.
You can refer to the documentation to learn when each option is most appropriate to use.
As an alternative, you can use auto-binding. This approach automatically links the artboard's default view model (using its default instance) to both the state machine and the artboard itself.
This is the approach I chose, and below is a simple way to implement it.
import RiveRuntime

nonisolated class DataBindingViewModel: RiveViewModel {

    // A strong reference to an instance must be made in order
    // to properly update an instance's properties. This instance
    // must be the same that was bound to an artboard and/or state machine.
    private(set) var dataBindingInstance: RiveDataBindingViewModel.Instance?

    init(fileName: String) {
        super.init(fileName: fileName)

        riveModel?.enableAutoBind { [weak self] instance in
            guard let self else { return }
            // Capture the new instance so any new properties
            // can be created from the new instance.
            dataBindingInstance = instance
        }
    }
}
If you are interested in observing changes over time, you can use listeners or a platform equivalent method. You can check the docs here on one way to do it.
Properties
A property represents a value that can be accessed, modified, or monitored within a view model instance. You can obtain references to these properties using either their name or path.
Some properties are mutable, meaning they include getter, setter, and observer functions to interact with their values. When you set a property, its value and all connected elements are automatically updated.
Here is an example of how I updated my string values at runtime:
import RiveRuntime

nonisolated class DataBindingViewModel: RiveViewModel {

    [...]

    // Properties get cached as they are created, so returning a property
    // by path from the same instance will return the same object.
    // This way, no strong reference has to be kept. This is the same
    // for all property types.
    var titleProperty: RiveDataBindingViewModel.Instance.StringProperty? {
        return dataBindingInstance?.stringProperty(fromPath: "title")
    }

    var descriptionProperty: RiveDataBindingViewModel.Instance.StringProperty? {
        return dataBindingInstance?.stringProperty(fromPath: "description")
    }

    init(fileName: String) {
        super.init(fileName: fileName)

        [...]

        titleProperty?.value = String(localized: "title")
        descriptionProperty?.value = String(localized: "description")
    }
}
The only condition is that the values associated with the keys "title" and "description" must exist in the localization catalog.
Declaring the View Model in the View
After creating a view model that dynamically updates the Rive animation text at runtime, the next step is to declare it inside the SwiftUI view.
import SwiftUI
import RiveRuntime
struct DataBindingView: View {
// MARK: ViewModels
/// RiveViewModels are the main point of contact with the RiveRuntime. They are
/// the bridge between the file and the image that displays.
@StateObject private var vm = DataBindingViewModel(fileName: "text-localization")
var body: some View {
vm.view()
[...]
}
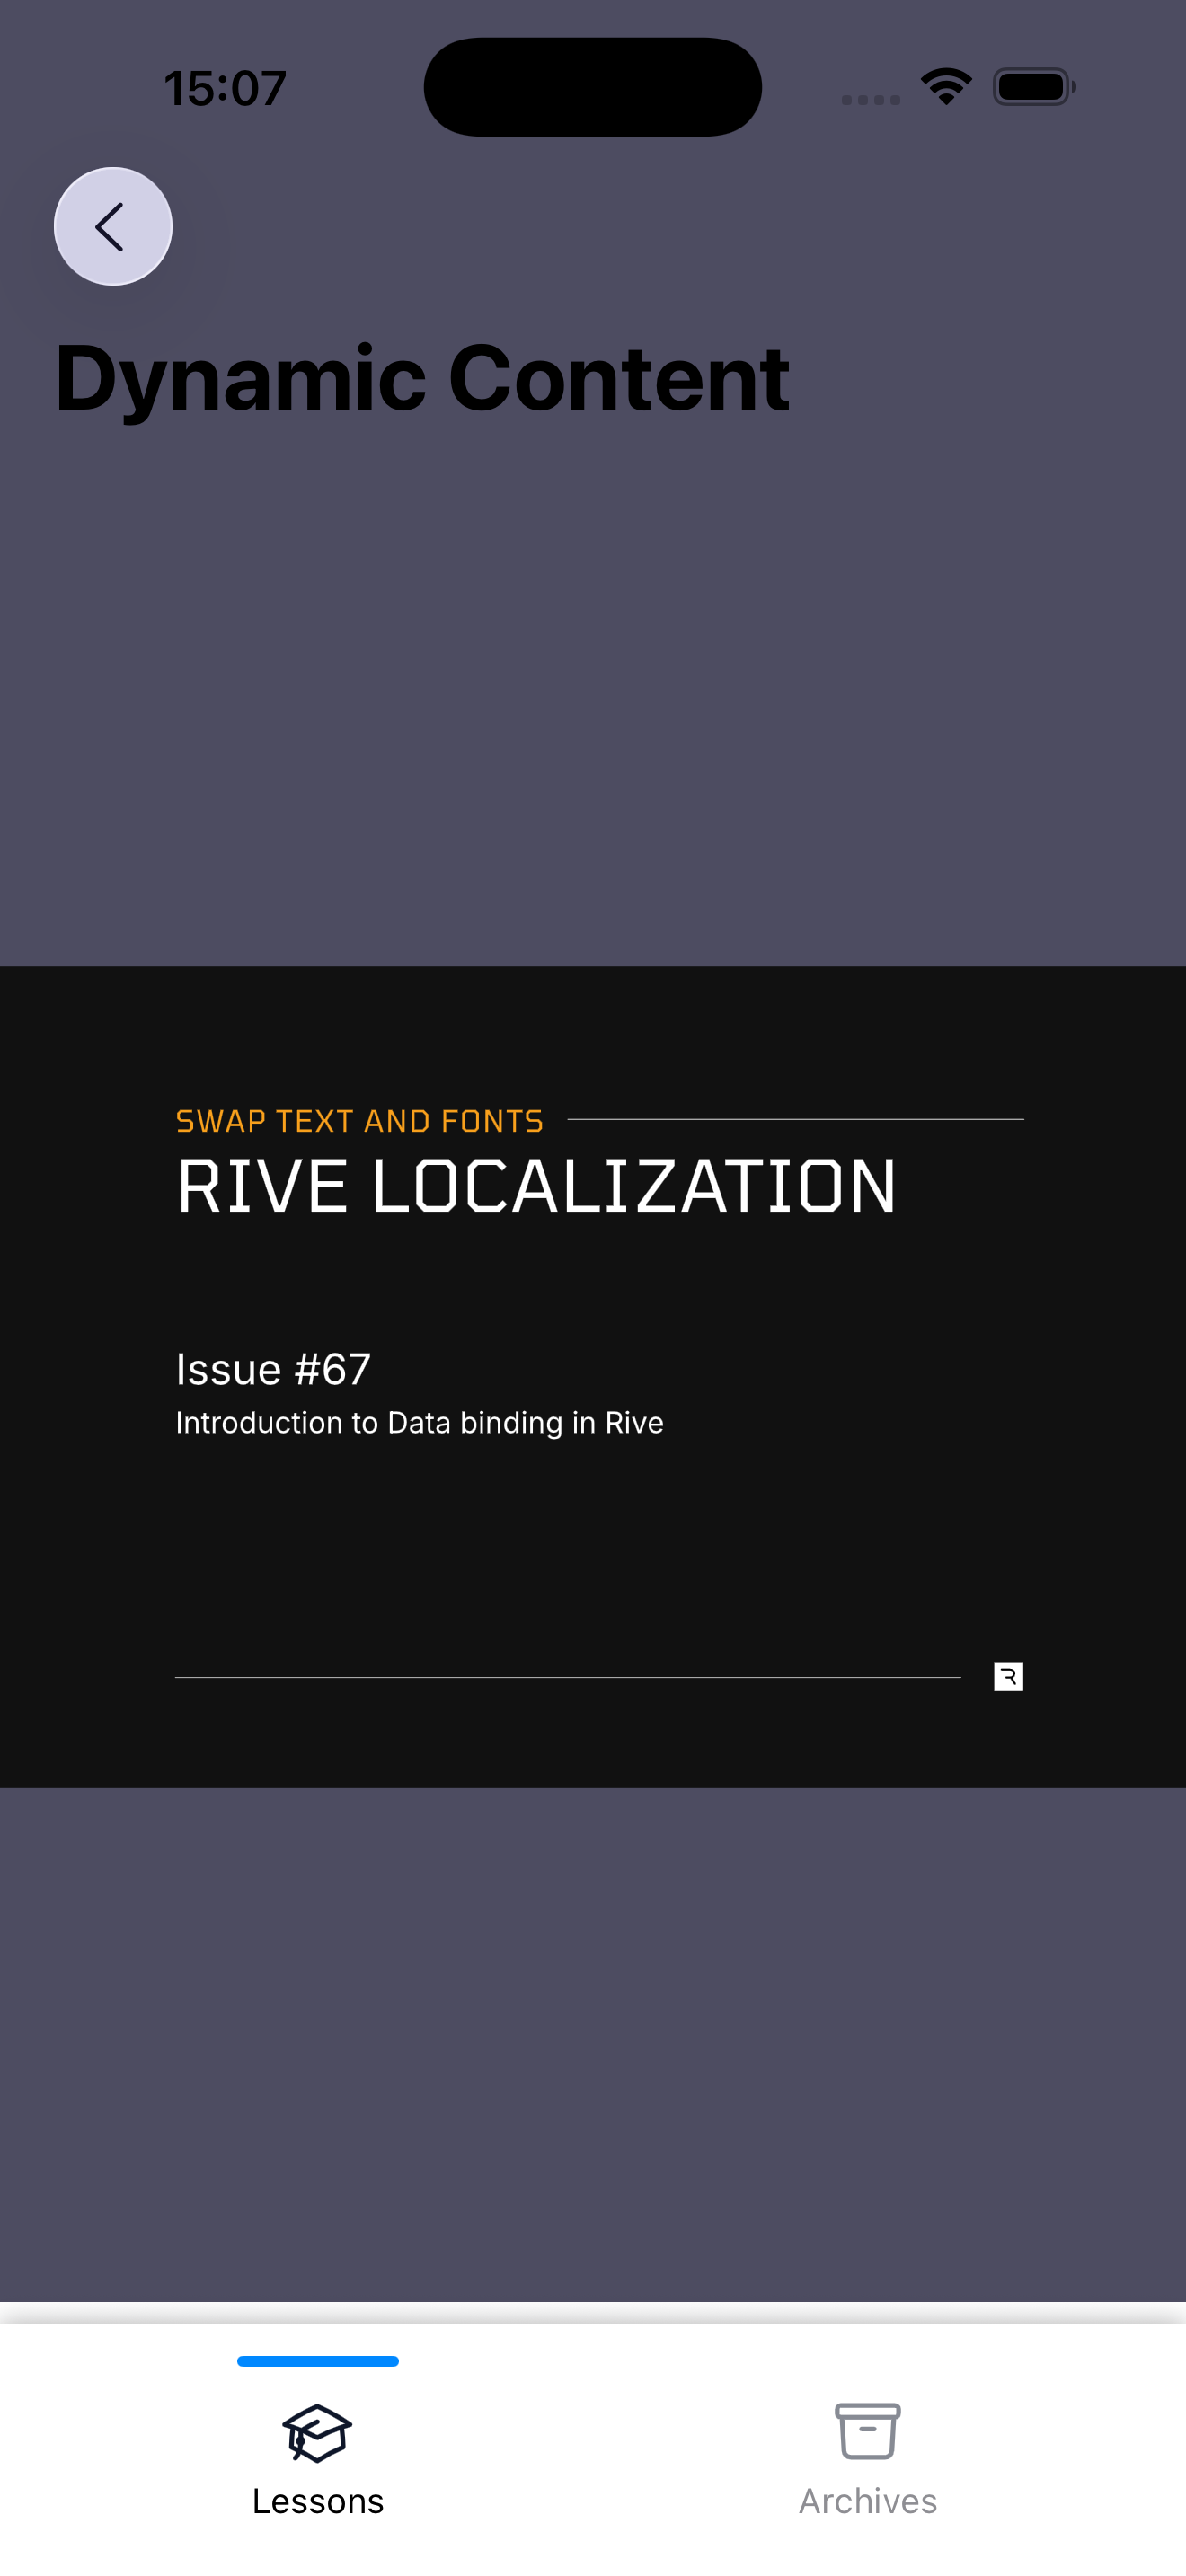
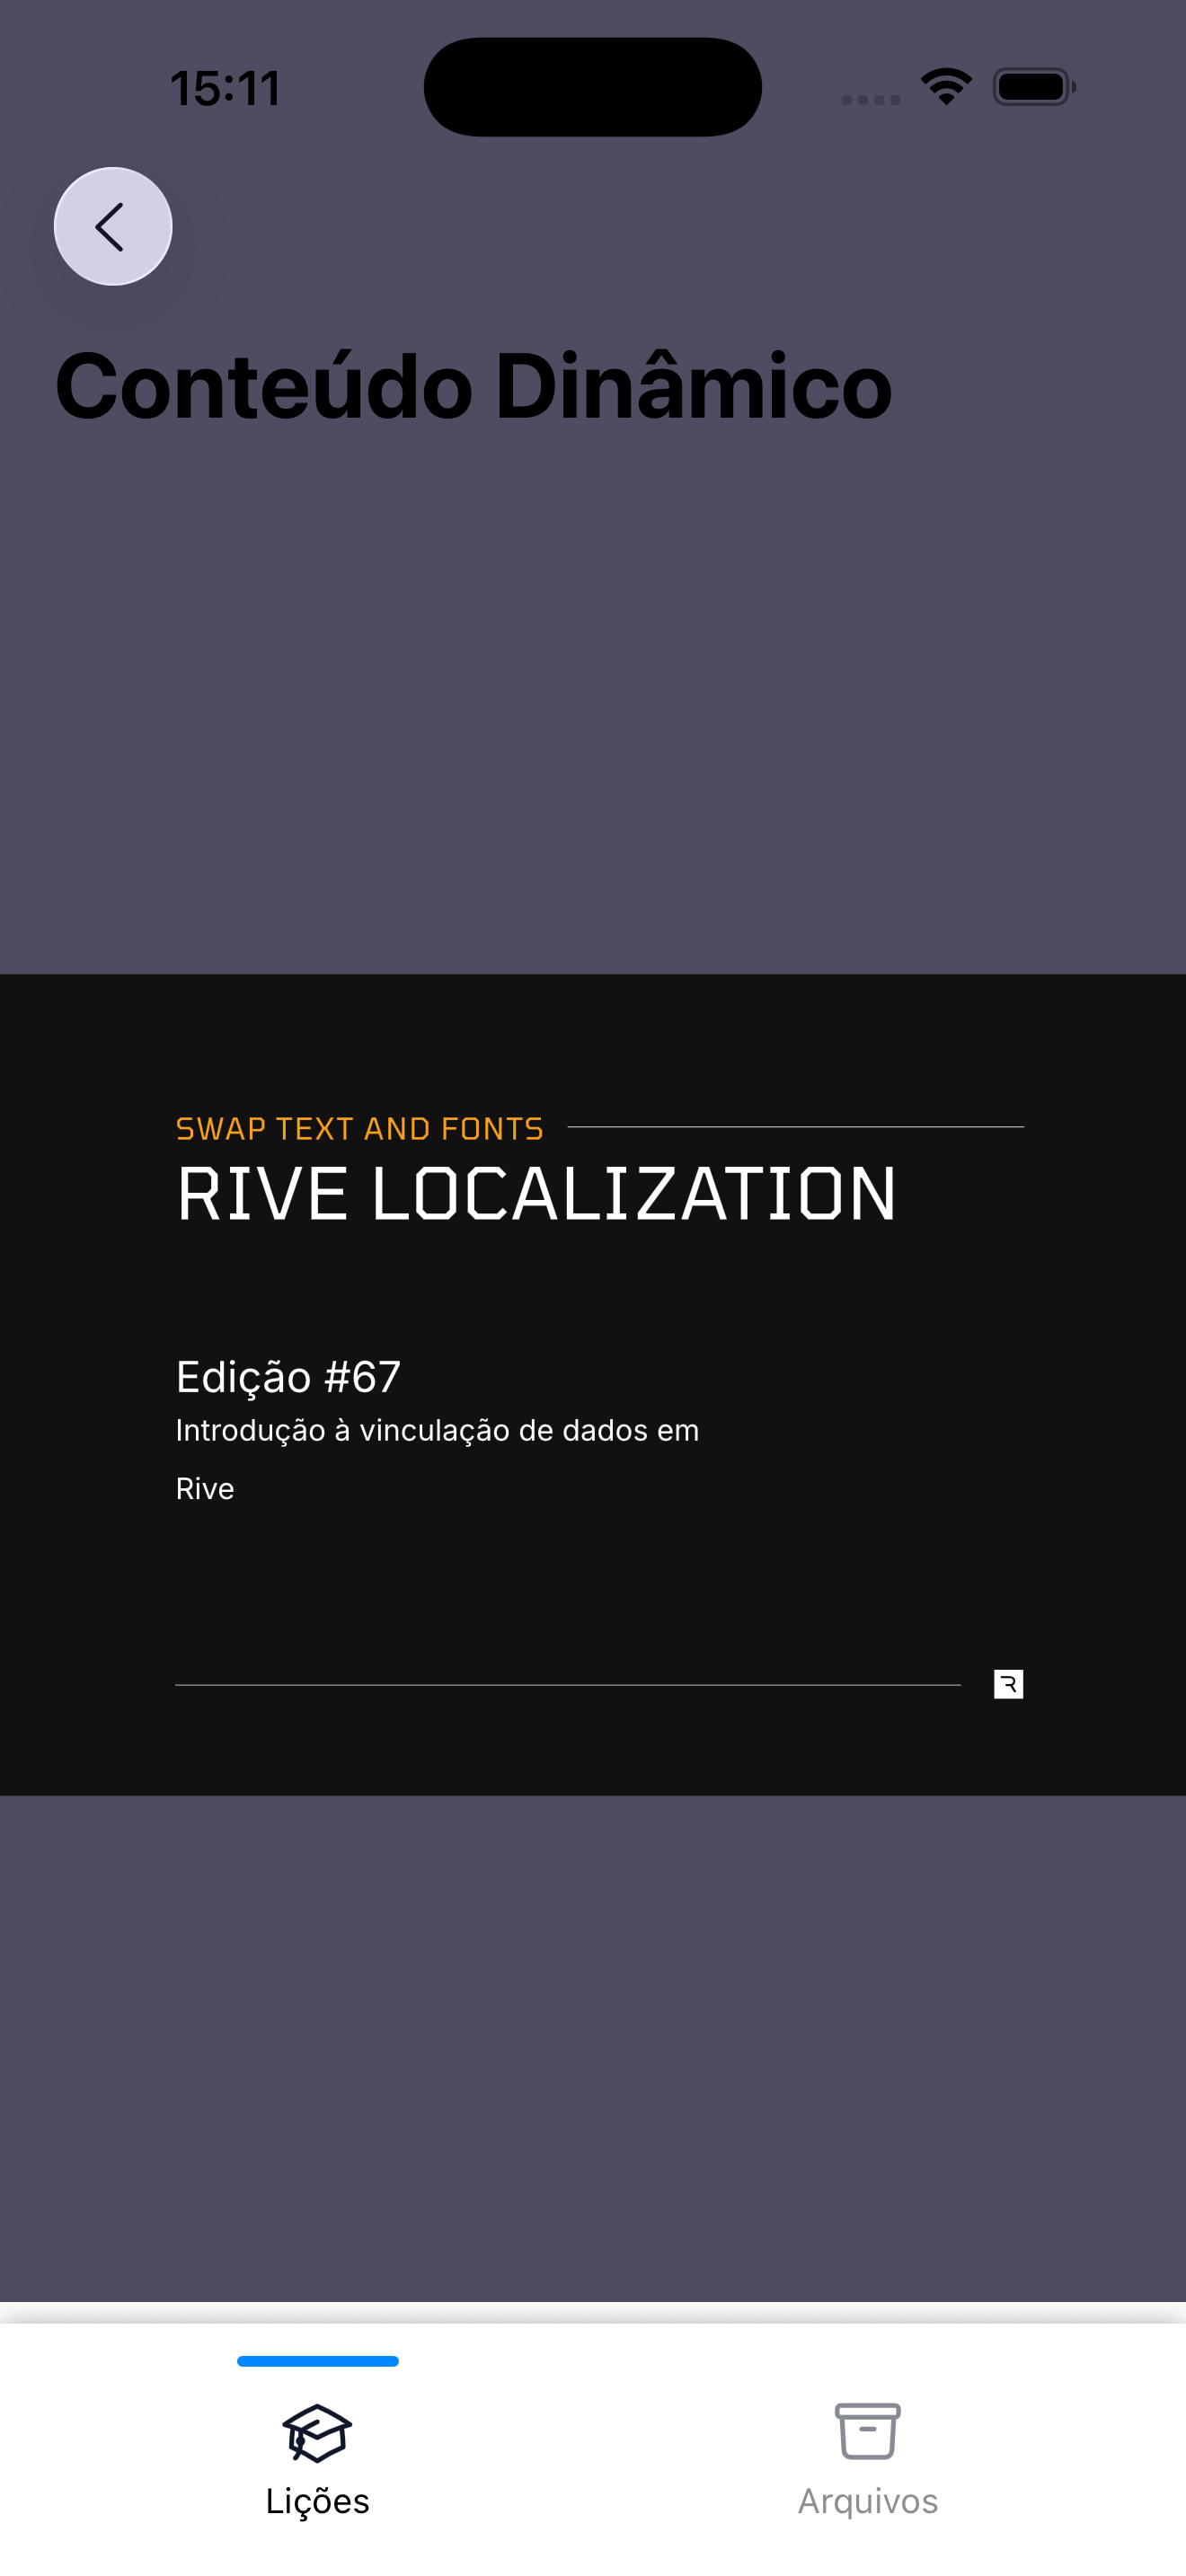
}Here is a look at how the demo app I created for this version works:
🤝 Wrapping Up
In this guide, we looked at how to correctly bind data in Rive. When text in a Rive animation needs to be updated dynamically, data binding is the preferred solution, as it helps keep the app bundle size smaller.
In the next chapter, we'll explore how to load and apply fonts in Rive animations.